Adaptive Universal Remote (AUR) Users Guide
Adaptive Universal Remote Kit

Table of Contents
Unpacking
The shipment includes three Adaptive Universal Remotes individually packaged in their own box. It will also contain a Roku Express for each AUR.
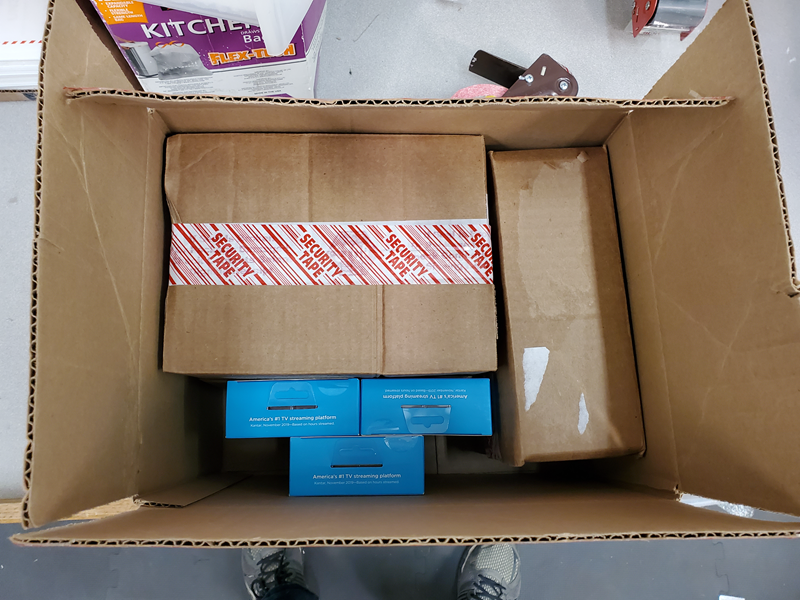
Carefully open the individual boxes - take care not to cut the contents inside the box when cutting through the tape.
Important: Keep the contents of each box separate to prevent mixing up the IR blasters that are linked to a specific keyboard. 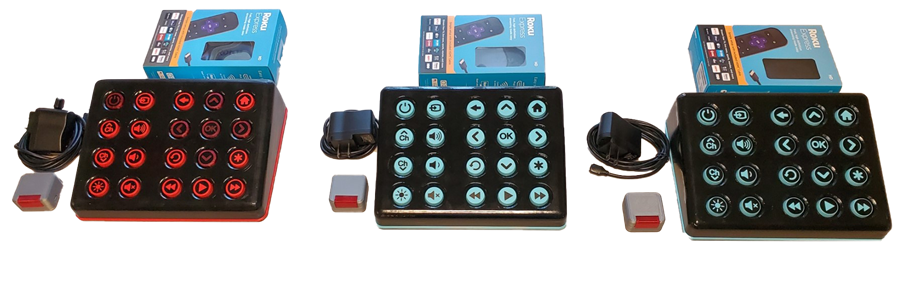
You can compare the labels on the backs of the keyboard(s) and IR blaster(s) to verify the “Device MAC” number on the IR blaster matches the “Paired Device” number on the keyboard.
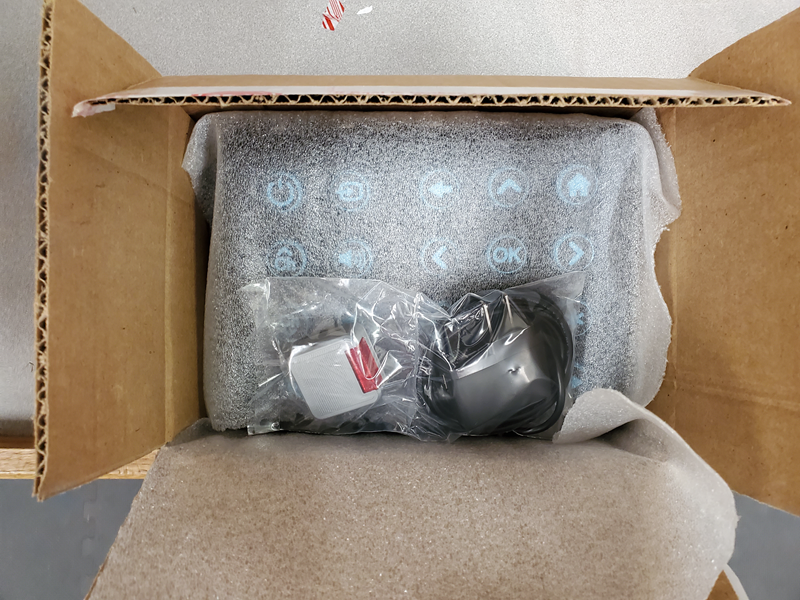
Remove the small piece of masking tape used to keep the power switch in the off position during shipping.
Contents
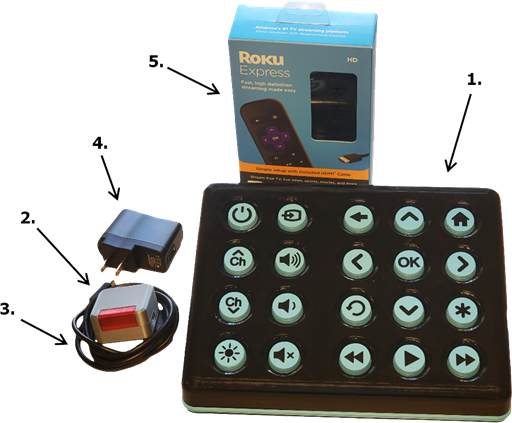
- AUR Keyboard
- AUR IR Blaster
- Micro USB Power Cable
- USB Power Adapter
- Roku Express Smart-TV Box
Getting Started
Setup Overview
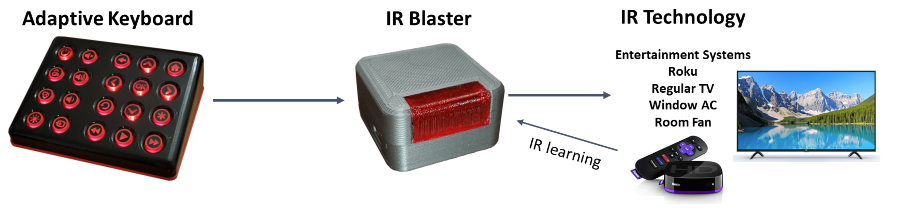
The Adaptive Universal Remote is pre-configured to work out of the box with any Roku device that is compatible with an IR remote (including Roku Smart TV’s).
Roku
![]()
Please follow the instructions in the Getting Started Guide that came with your Roku. You can also find helpful videos at Roku - Setup and troubleshooting.
IR Blaster
If you are using this with a Roku Smart TV then no setup is required. Simply place the IR Blaster as instructed and use the keyboard just like any other Roku Remote.
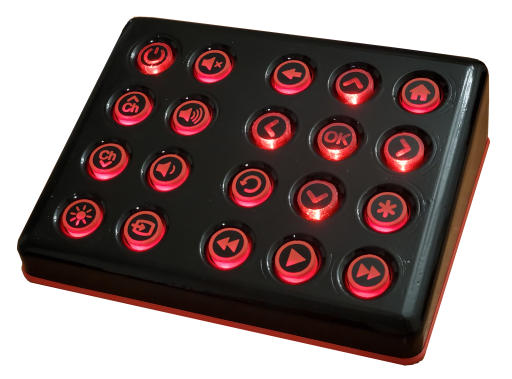
Note: There are 3 extra buttons not needed by a Roku Smart TV; Input Select, Channel Up, and Channel Down. While they are pre-configured to still be useful with the Roku TV, they can be programmed for another IR device if desired.
If you wish to use any other device, continue to the Programming Commands instructions.
When using a TV with a Roku box you only need to program seven buttons: Power, Input Select, Volume Up, Volume Down, Mute, Channel Up, and Channel Down.
Placement
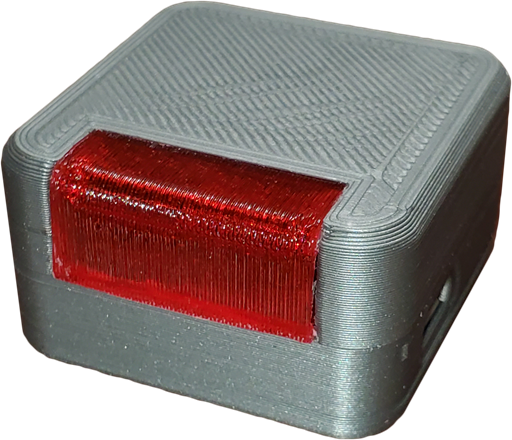
Place the IR Blaster within 10 feet of and with the red window facing the device(s) you would like to control. For best results place the IR blaster within 2 ft of the other device(s).
In our tests, we had great results by placing the IR blaster directly under the TV near the TV’s IR receiver with the red window facing you. With some patients and straighting and bending the micro USB cable, you should be able to get the IR blaster to stay put. You may need to use some double sided tape (command strips) to help keep the IR blaster in place. (You can cut the strip of tape that came with the Roku Express in half and use part of it on the IR blaster)
When using with multiple devices, the IR blaster red window will need to generally point towards all of the devices you intend on controlling.
Programming Commands
Any button on the keyboard can easily be programmed to control any IR device with these two steps.
-
Hold down the brightness button (bottom left) and then press and release the button you want to program. Release the brightness button. The keyboard will flash twice indicating that a button is ready to be programmed.
The IR Blaster window will also begin to flash a bright red every 1.5 seconds until it has learned the new IR command or programming is canceled.
Note: You can cancel the programming of a button at any time by pressing any key (except the backlight brightness key) on the keyboard.
-
Point the original remote at the IR blaster and press the button that you want the Universal remote to learn.
The IR blaster window will blink red twice when it has learned the new command.
The button you chose in step 1 has now been programmed with the new command.
That’s it! Be sure to test this button to be sure it is working as expected. Repeat for each button as many times as needed.
Keyboard
Each keyboard is wirelessly linked to a specific IR blaster. No line of sight is needed between the keyboard and th IR blaster, as long as they are withing range (300 ft) of each other.
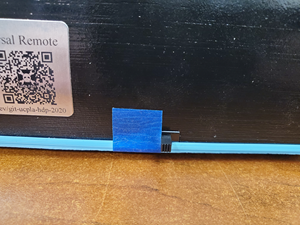
On / Off Switch
The on-off switch is the small switch located on the back of the keyboard. The switch must be set to “ON” when the devices is in use and when charging the battery.
Battery and Charging
Currently the keyboard can run for about 10 - 14 days on a single charge regardless of how frequently it is used. We are working on overcoming this limitation in future versions. For the time being It is important to keep the battery charged when it gets low. Also, to prevent the battery from being damaged from being over-discharged the keyboard will need to be switched “OFF” when it is not going to be used for several days.
To charge the keyboard, simply plug a micro-USB cable into the back of the keyboard. Make sure the ON/OFF switch is in the “ON” position. A small yellow/orange light will be visible near the micro-USB plug on the keyboard while it is charging. Once fully charged this light will turn off. The keyboard will take about 4 hours to fully charge.
The keyboard is fully functional while it is charging, so you can continue using it without interruptions.
Low Battery
If the battery is low, the backlight will only light up to the minimum brightness and the haptic feedback will be disabled. The keyboards backlight will also flash 3 times when waking it up, or attempting to change the backlight brightness.
Backlight Brightness
The backlight default brightness it the minimum brightness level. The brightness of the backlight can be changed by pressing the brightness level button in the bottom left corner of the keyboard. Each time the button is pressed it will increase in brightness. If the button is pressed after it has reached the maximum brightness, it will go back to the minimum brightness setting. The brightness level will be remembered as log as the keyboard is on. When switched off it will return to the default brightness level.
Haptic Feedback
The keyboard has a vibrator motor that can provide addition feedback to a user when a button is pressed. This can be turned on by setting the backlight brightness to it’s maximum setting.
Power Saving
The keyboard will automatically go into a deep-sleep state after 60 seconds of inactivity or 10 seconds of inactivity when the battery is low. When asleep the backlight will turn off.
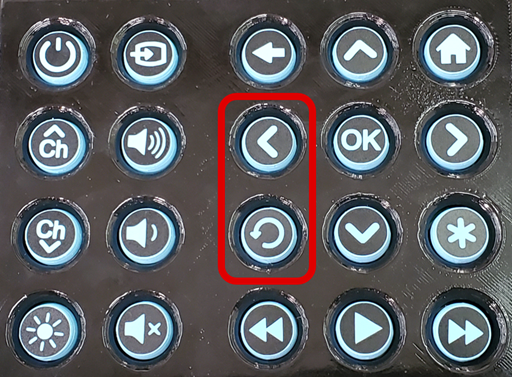
To wake up the keyboard you will need to press the skip-back or left arrow button. When awake the keyboard backlight will be on.
Troubleshooting
Unresponsive Keyboard
- Make sure the power switch is switched to the on position.
- Make sure the keyboard is awake when trying to use. See Keyboard - Power Saving section above for more details.
- Make sure the keyboard is charged. See Keyboard - Battery and Charging section above for more details.
Intermittent or No Control
- Make sure the IR blaster is plugged in and has power. The red window on the IR blaster will flash once the moment it is provided power.
- Verify that the keyboard is communicating with the IR blaster by following step one of the Programming Commands section. The red window on the IR blaster should flash if they are connected and communicating. Then cancel the programming of a button by pressing any key (except the backlight brightness key) on the keyboard.
- Verify that the keyboard and IR blaster are the right ones by comparing the labels to verify the “Device MAC” number on the IR blaster matches the “Paired Device” number on the keyboard.
- If the Adaptive Universal Remote only appears to work some of the time, it is most likely because the IR blaster doesn’t have a good line of sight to the device you are trying to control. Try moving the IR blaster closer and try facing the red window in different directions to find the optimal placement.
Factory Reset
If at any time you want to restore the AUR to it’s original configuration you can preform a factory reset. This is done by holding down the brightness button and then the power button for 8 seconds. Both devices will start to blink, indicating that you can release the buttons. All learned commands will be forgotten and the AUR is once again configured as a Roku Smart TV remote.